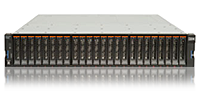
Step by Step Configuration of IBM Storewize V3500/V3700
In this guide I will go through all the steps of configuring and installing an IBM Storewize V3500 and V3700, this will include initial management configuration down to configuration of arrays etc.
Initial Configuration
The initial configuration of the V3500/V3700 is done from a Windows system via USB, locate the USB stick from the packaging and insert it into your PC, then run the init.bat file.
![]()
Once ran you will see the welcome screen, click next and then select create new system.
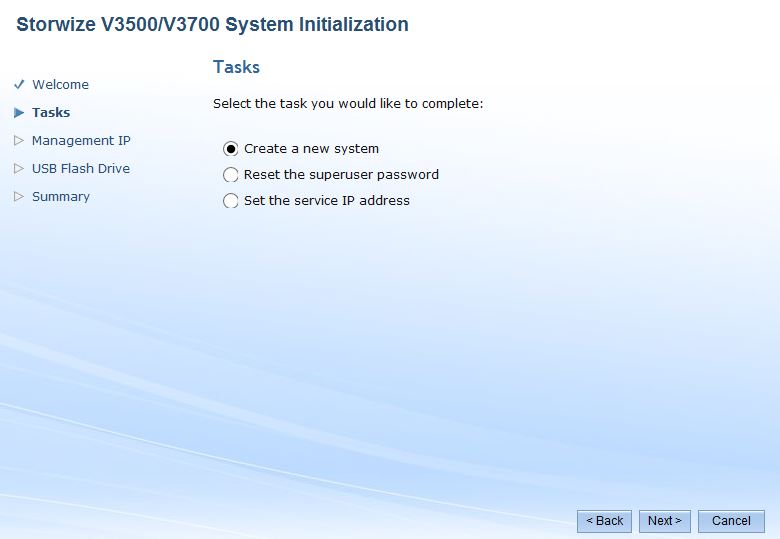
The first step is to assign a management IP address on your SAN, this is so that you can connect to the web interface from clients on your network to change configuration settings. See below.
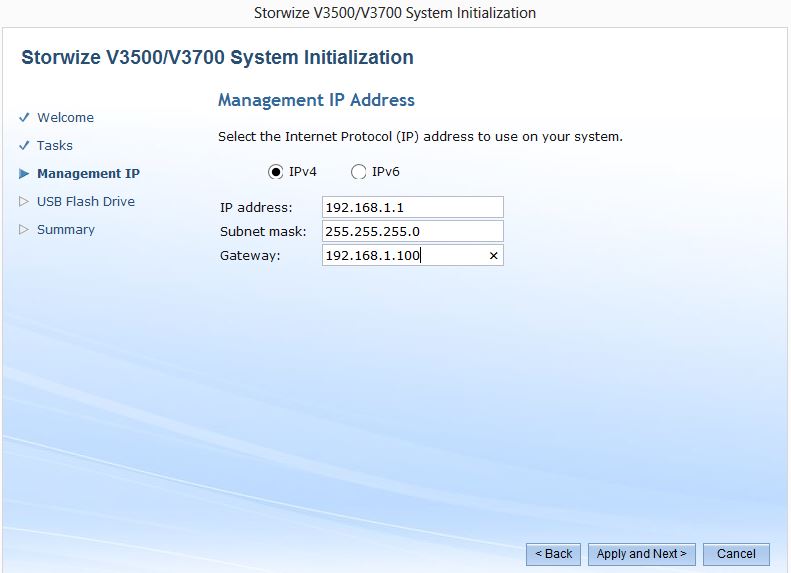
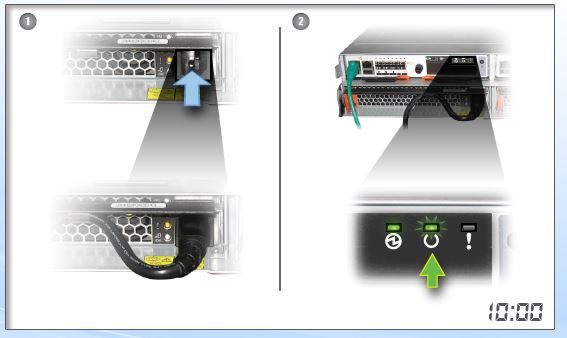
Click apply and next, this saves the config to the USB stick. Then proceed to power on the SAN, making sure both power supply’s are powered, wait until the status LED blinks before continuing.
One they are blinking remove the USB pen and insert it into the left hand side USB port of the SAN, wait again a further 3-5 minutes until the fault LED blinks then stops blinking.
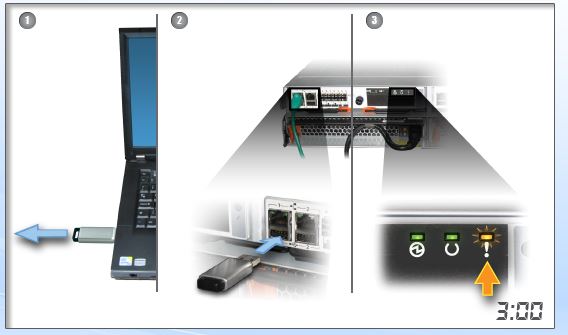
This will install the management IP to the controller you plug the USB pen into. Once the light becomes static you can remove the pen and insert back into your PC, you will then see the success summary and be redirected to the login page.
V3500 and V3700 Default Username and Password
Its on the the big A1 sheet of paper out of the box but if you have forgot the details are.
Superuser : passw0rd
SAN Configuration
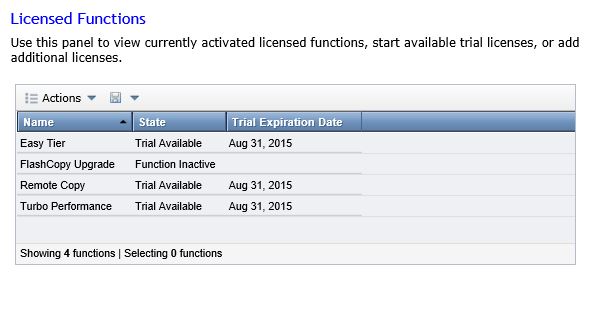
There are a lot of little tasks for the basic configuration but ill go through them anyway. The first job is to change the management password, the configuration wizard ask you to do this first, do so. Then the following screen will ask you to provide licenses if you have purchased any additional features.
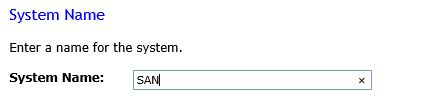
 Next we need to give the SAN a hostname, give this something recognizable.
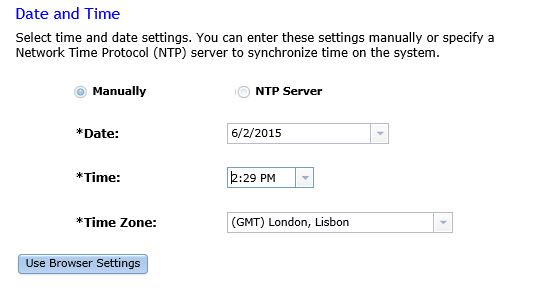
Then set the correct time on the SAN.
You will then get a nice graphical representation of the storage that has been detected in your SAN.

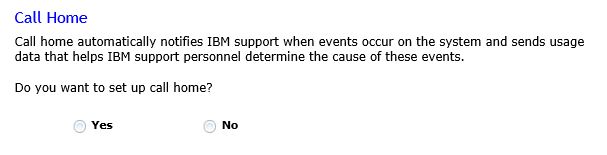
If you want to use the call home feature that IBM off then configure at the next screen, I do not.
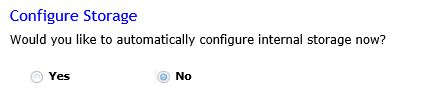
You then get the option to automatically configure your storage, in this example I wont as Id prefer to go how this is setup below. By default it will pick the most suitable disk configuration and create one volume.
Then you will see the summary, simply accept. That is the SAN configured for basic use, we now need to configure the storage pools and arrays.
Process to Configure Storage
Its a fairly simple GUI interface so I will go through the basic steps in the order they need doing.
- Create a Storage Pool.
- Create Volumes and allocate to pool.
- If SAS add the volumes to the approved hosts accordingly ( Your hosts must be connected).
- If ISCSI – setup the IPs for ISCSI initiators.
- If required setup CHAP for volume authentication
Bare in mind once you have created your volumes they are NOT available instantly, depending on the size of them determines how long before they are initialized. 9TB in my example took 4 hours.