
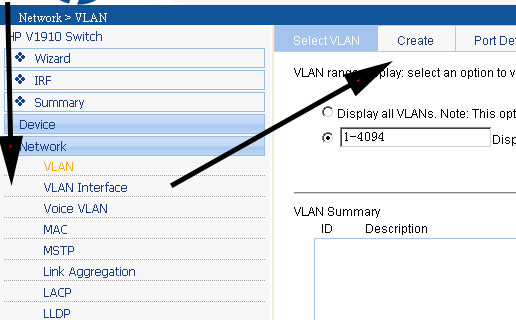
In this guide we will create a VLAN on the HP Procurve V1910, tag ports to the VLAN on the HP V1910 and then setup a DHCP relay. Then first thing you will need to do is log into to the switch. Once in browse to the network tab and then select VLAN and then create.
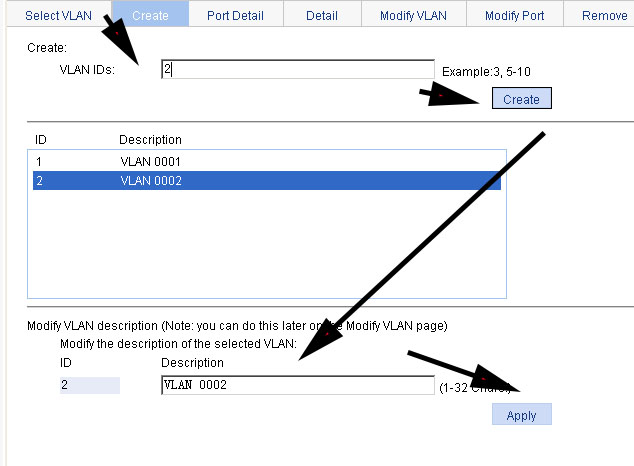
On the create screen simply enter the VLAN ID number and click create, we can now give the VLAN a description, for example if it was for voice you would give it a valid name. As seen in the screen shot below.
We are now ready to tag ports on the HP V1910 to the VLAN we have created. First select modify port. then select the ports you would like to tag by clicking on them, if you want all ports then select all. Once done then decide whether they will be untagged or tagged, we are tagging ports to VLAN 2 here so select tag. Then specify the VLAN ID , here we select 2. Finally click apply.

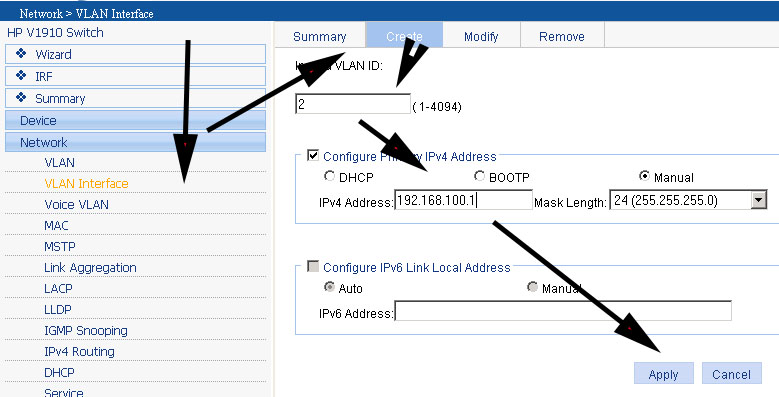
We now need to assign an interface IP address to this vlan now, we need this if we want to route traffic to this VLAN such as DHCP. To do so select VLAN interface and create. Enter the VLAN that we have just created as the ID, then specify the IP address that we will give this VLAN, I normally start at 1, specify the subnet and click apply.
We now have a VLAN with a VLAN interface created , we are now ready to setup a DHCP relay ( IP Helper Address ) on the HP V1910. Here we first click on DHCP and click enable, we must first create a Server Group ID. To do so click add.
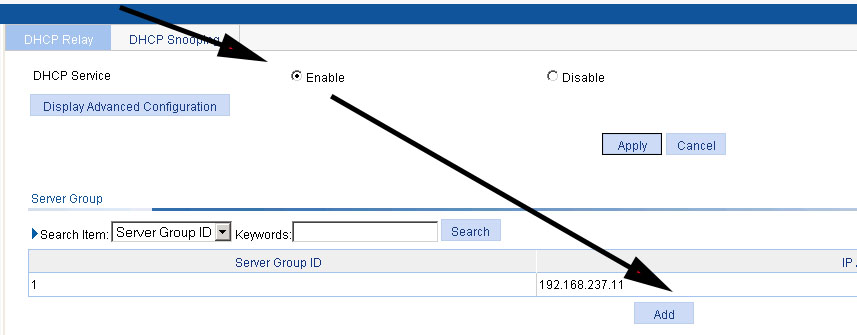
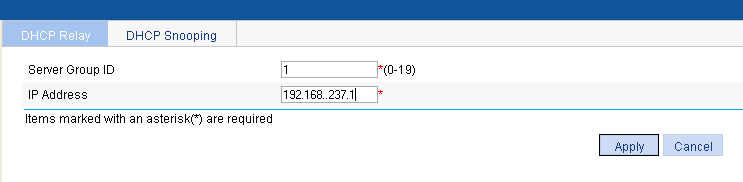
once you have clicked add, then give the group an ID number and enter the IP address of your DHCP server. Then click apply.

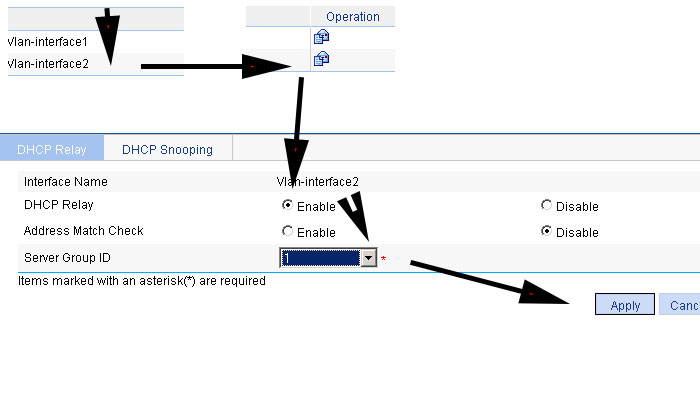
Now we need to assign the IP helper service group the VLAN we created, to do so select your VLAN and then under operation select edit. Enable the DHCP relay option and select the server group ID we created. Finally click apply.
This process is now complete.