Trend Deep Security Virtual Appliance Installation Guide
This is part one of two ( coming week 4 jan 2013 ) of the Trend Deep Security Virtual Appliance Installation Guide. In part one we will install the Trend Deep Security Appliance into VMware, configure it then in part two we will install and configure the Trend Deep Scan Management application. If you would like to use the DSM to deploy the Virtual appliance the jump straight to part two.
Installing The Trend Deep Security Virtual Appliance
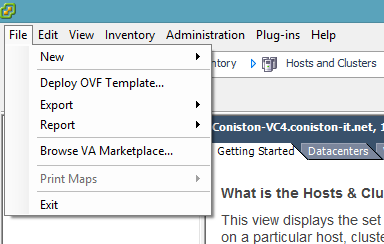
Like all virtual appliances, the Trend Deep Security Virtual Appliance is supplied via an OVF template. So to install it we must deploy the template. To do so , log into your ESXI host or Virtual center the select File > Deploy OVF Template.
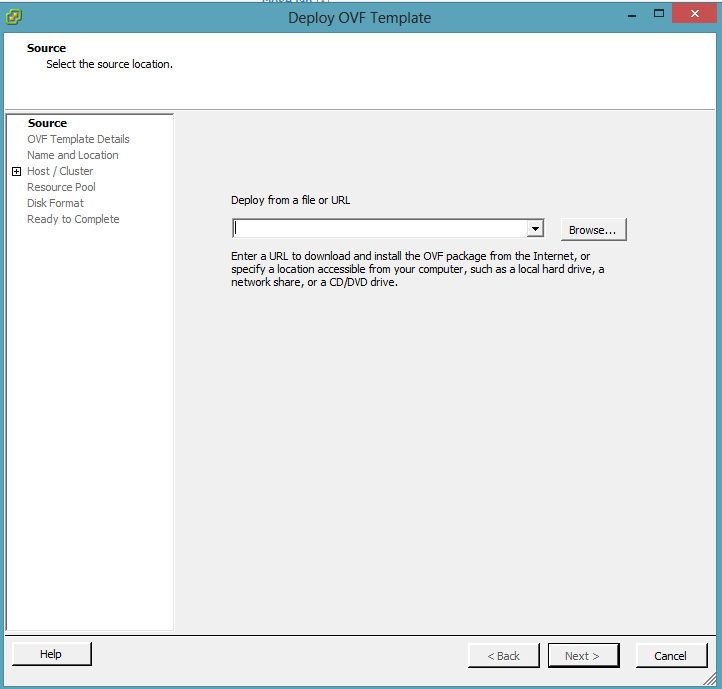
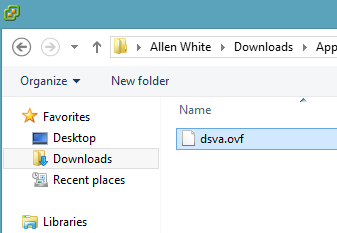
We then need to browse to the location of the OVF and select it.
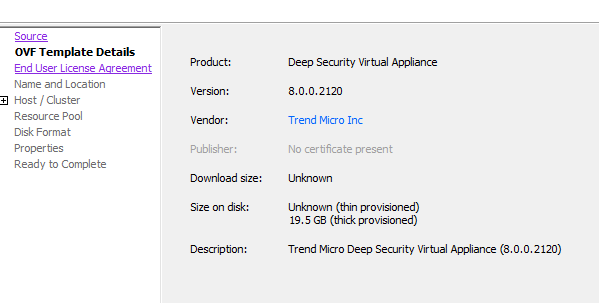
Once select ESXI will display information on the appliance you are about to deploy and how much space it will take. As you can see, when it is thick provisioned Deep Scan Security will require 19.5 gig of storage space.
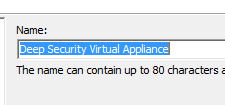
Give the OVF a valid description so you can identify it on your virtual infrastructure.
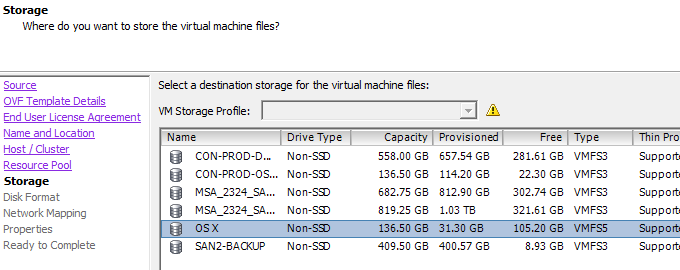
We now need to select the data-store we will deploy the OVF to, make sure you have at least 20 gig free if you want to thick provision the Deep Security Appliance.
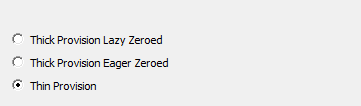
We now need to choose how to provision the deep scan security appliance, I would recommend you choose thick provision as it only requires around 20 gig. If you select thin provision, over time it will grow to its full capacity either way.
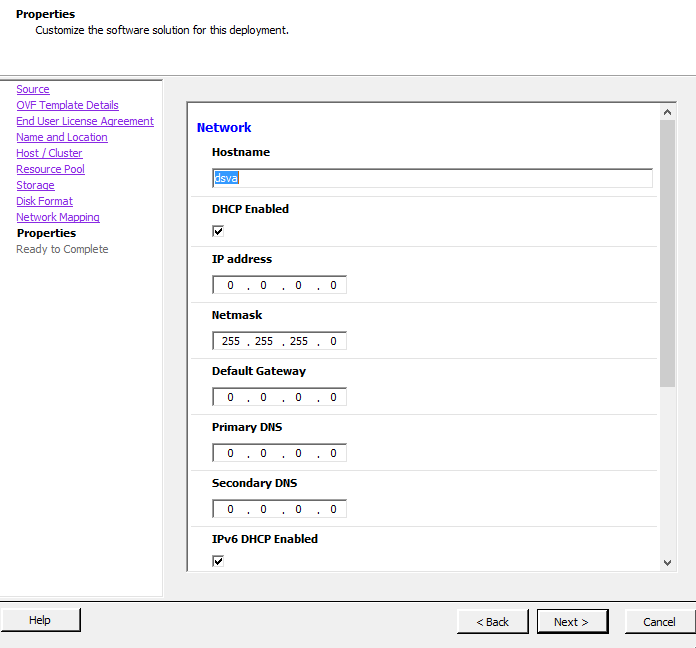
Now we need to specify the appliances IP information and host-name, host-name being what the device will be called in DNS and what you will attach to, enter as desired and make a note as we will need this information when we come to install and mange with the deep security management application later.
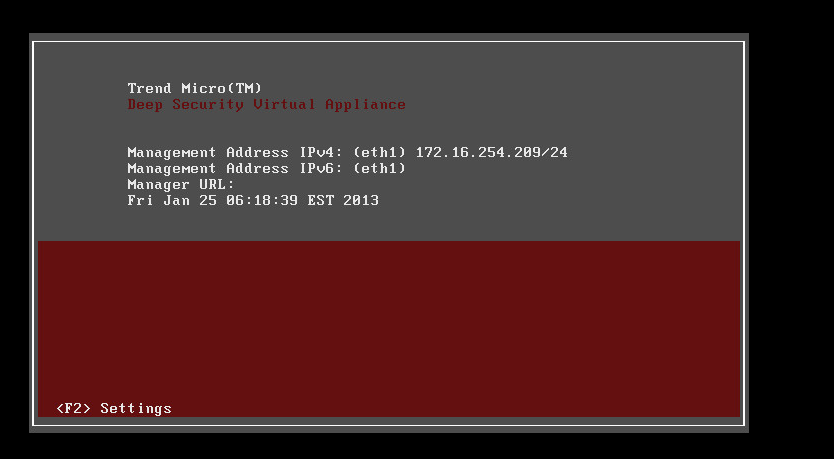
You will now get a few standard acceptance screens, and also vswitch select, simple select the vswitch network you want to manage .accept then and continue. Once done so, the OVF will now import and you will get the option to power on the Virtual Appliance, do so. You will then see the screen below once it has powered up, if you press F2 you will need to authenticate, the default password is DSVA.
Trend Deep Security Virtual Appliance Console Configuration
What we can do at console level is extremely basic, if you are well versed with ESXI you will see it is almost identical, I will list out what we can do.
- Change password – Self explanatory.
- Configure Management Network – this is basically the IP address of the appliance, DNS and gateway information
- Time Zone – take a guess
- Set Date and Time – See above
- Virtual Agents, this is where you can see what device have had agents deployed to them
- Reset and Reboot – Obvious.
All of the complex management is done via the Deep Security Management application which I will show you in part 2
Tags: security